The Mid-Autumn Festival is coming soon, and eating mooncakes is a must in our family. In this issue, I would like to share with you a snow skin mooncake that tastes soft even keep it in the fridge after 3 days. I have been using this recipe for several years and my family loves it. This time, the snow skin mooncakes are ” Hor Ka Sai” mocha flavor. Although the name is exaggerated, they are very fragrant and delicious!
Mung Bean Paste
With a pressure cooker, you only need to put all the water, sugar, and oil in, and it’s much more convenient! If you don’t have a pressure cooker, you must soak the mung beans 1 day in advance or at least 4 hours, then put them in a steamer and steam for 10 minutes or until soft. After mashing the prepared mung bean paste, sieve it through a strainer to get a smooth mung bean paste. It is recommended to use a non-stick pan to reduce the risk of sticking to the pan and burnt. Turn on medium or low heat and stir-fry until the mung bean paste is dry or till the humidity you want. Of course, if you want to use a blender to process it, it seems to be much faster, but you must add more water to blend it, otherwise it will not work. The mung bean paste is processed with a blender, the subsequent stir fry process will be more time consuming and must be stirred until the water evaporates.

Filling Flavor
If you want to add your favorite instant drink, it is recommended not to add too much sugar when cooking the mung bean paste and fry it dry a little. Because instant drinks contain sugar and creamer that will melt during the mixing process. If it is too wet and sticky, add a small amount of mung bean paste to make it easier to knead into a dough. This time we use the “Hor Ka Sai” flavor to make snow skin mooncakes filling. This flavor originates from Taiping Town in Perak, Malaysia. It is said that after drinking “Hor Ka Sai”, it can effectively fight fatigue, and be energetic, and lively. Just like a tiger defeating a lion, so it is called “Hor Ka Sai”. In fact, you can use any coffee powder, milk tea powder, or fruit powder you like to make more changes in taste.
Snow Skin
When steaming snow skin dough, it is recommended to cover it with a lid or put on a plastic wrap to prevent too much water vapor from entering the dough. You also can remove the excess water on the surface after steaming. Because, when kneading the dough later, it will stick to you and make you miserable. Ha ha! Therefore, if too much dough sticks to the surroundings during the production process, it will be difficult to clean. On the contrary, if the dough is not moist enough, it will be easy to make. And the texture of the snow skin mooncakes will be clear and beautiful. This kind of snow skin mooncake can only be eaten on the same day after made. Otherwise, no matter how well you put it in a sealed box and store it. It will taste hard when you eat it the next day! Even if it is defrosted or slightly steamed, it still won’t taste soft.
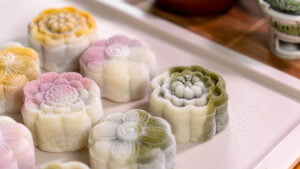
In addition to the mold, the appearance of the snow skin is also a pleasing color. We used beetroot to make it pink. For the green one, you can use pandan or green tea, and for the yellow one, pumpkin. Because you want that pinkish-looking color, you don’t need to put too much vegetable and fruit powder. Therefore, the taste is not too heavy and it goes well with the fillings.
The best way to make snow skin mooncakes soft is to store them in a sealed box and refrigerate them maximum of 3 days. If you make it yourself, try to enjoy it within the best period. I like this snow skin mooncake the most. It tastes sweet and milky, has a soft, chewy texture and is icy cold, super delicious!
You might also like our other mooncake recipes, ondeh-ondeh mooncakes
Hor Ka Sai Snowskin Mooncake
Please Click 1-5 Star to Rate This Recipe
Print Pin Comment & RateINGREDIENTS
Snow Skin Dough
- 30 g Glutinous Rice Flour
- 30 g Rice Flour
- 20 g Wheat Starch
- 10 g Condensed Milk
- 130 g Milk
- 20 g Caster Sugar
- 10 g Corn Oil
Cooked Glutinous Rice Flour
- 15 g Glutinous Rice Flour
Mung Bean Paste
- 150 g Split Mung Beans
- 50 g Butter
- 75 g Sugar
- 300 g Water
“Hor Ka Sai” Flavor
- 10 g Instant Coffee Powder
- 10 g Milo Powder
INSTRUCTIONS
“Hor Ka Sai” Flavor Filling
- Wash the split mung beans.

- Put it into the pressure cooker and add all the ingredients of “Mung Bean Paste”. Pressure cook for about 10 minutes.
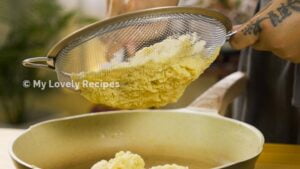
- Wait until the air pressure is gone, opening and taking out the mung bean filling. Press it slightly and then sift it through a strainer.
- Use a non-stick pan to fry the excess water so that it can form into a dough. If you like it drier, stir fry it longer; If you like it moister, let it retain a little more moisture. Once done, let it cool and set aside.
- After the paste is cool, take out 9 portions of mung bean paste and roll into balls, each portion is 5g.
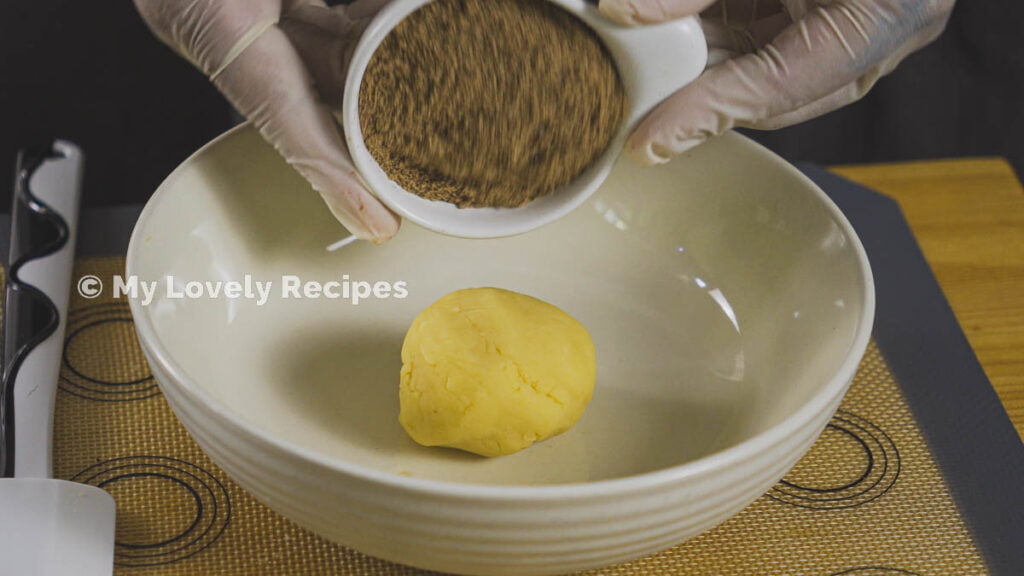
- Take 80g of mung bean paste add 10g of instant coffee and mix evenly. If you find that the paste is too sticky or too wet after adding instant coffee, you can add an appropriate amount of mung bean paste.
- Divide the mixed coffee paste into 9 portions and roll them into balls, each portion is about 10g.
- Then take out another 80g of mung bean paste, add 10g of Milo powder and mix evenly. If you find that the paste is too sticky or too wet after adding Milo powder, you can add an appropriate amount of mung bean paste.
- Divide the mixed Milo filling into 9 portions and roll them into balls, each portion is about 10g.
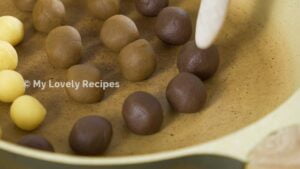
- Wrap 5g of mung bean paste with coffee paste.
- Then wrap them (coffee paste + mung bean paste) with Milo paste and repeat this operation until complete. Remember to cover the wrapped filling to prevent it from drying out.
- The remaining mung bean paste can be stored in a sealed box in the refrigerator. Mung bean paste can be fried and stored in large quantities at one time and can be used to make fillings for steamed buns, bread, etc. When you need to use it, just take it out and defrost it. However, for desserts that are not baked, such as snow skin mooncakes, it is recommended to reheat the frozen mung bean paste in a microwave or stir-fry it with a little water.


Cooked Glutinous Rice Flour
- Stir fry the glutinous rice flour over low heat until slightly brown, then allow to cool and set aside.

Snow Skin Dough
- Add the dry ingredients of glutinous rice flour, rice flour, wheat starch powder, and sugar together. Stir evenly before adding the wet ingredients condensed milk and milk. Stir evenly and sift through a strainer to make the batter more delicate.
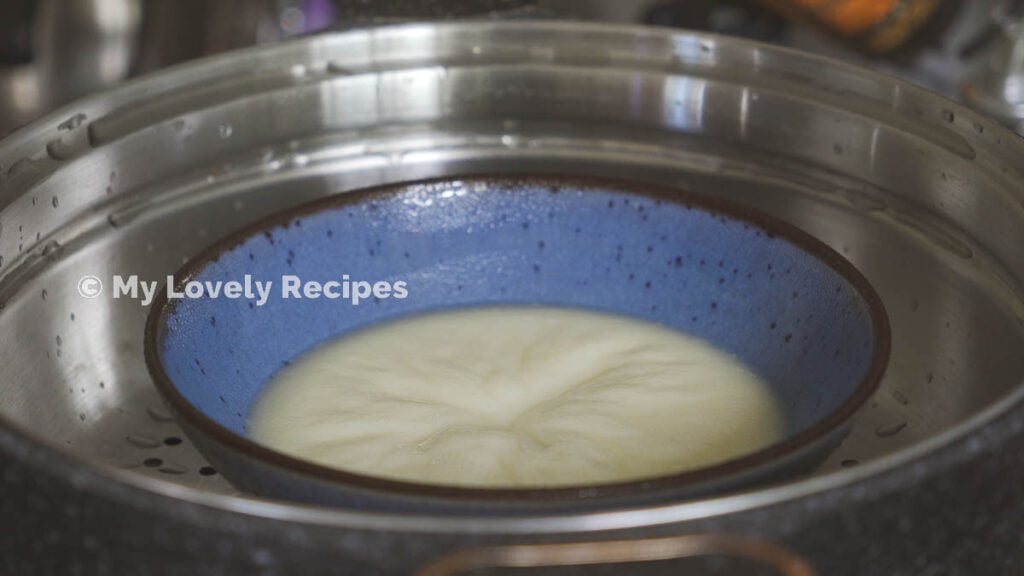
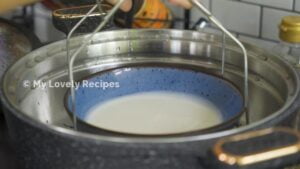
- Wait until the steamer is boiling before putting it in and steam over high heat for 20 minutes. Remember to stir the batter evenly before steaming.
- After steaming, pour out the excess water on the surface, add corn oil while hot, and stir with a spatula.
- After the corn oil is almost absorbed, take it out of the bowl and put it on a silicone baking mat to knead or use a plastic wrap. After kneading for about 10 minutes, the kneaded dough will still be sticky when pressed vigorously.
- Then divide the dough into 45g and add an appropriate amount of vegetable and fruit powder. You can use the color you like, such as red beetroot powder, yellow pumpkin powder, green matcha or pandan powder, etc. Knead evenly and wrap it with plastic wrap.
- In the same way, wrap the white one and put it in the refrigerator for 1 hour for later use.
- Take out the snow skin from the refrigerator, and divide the colored dough into 9 parts, each about 5g. It is recommended to use plastic wrap to operate because the dough will still be sticky.
- Then divide the white dough into 9 parts, each about 20g.
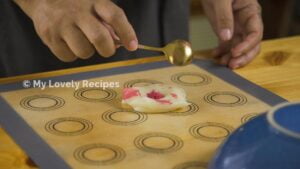
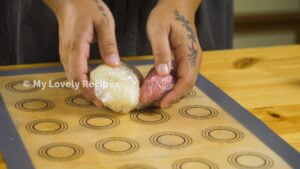
- After dividing, place the white dough and the colored dough together, and press them flat to make them larger. Turn over and wrap with fillings.
- Put the wrapped dough first to coat with a layer of “body powder”, then roll the dough up to make it easier to fit into the mold.
- Finally, use a 50g mooncake mold to press out the cute pattern and it’s done!


INSTRUCTIONS VIDEO
NOTES
NUTRITION
We are Penangites who love to COOK & EAT, so we are sharing the food we love with you. Know more about us…
